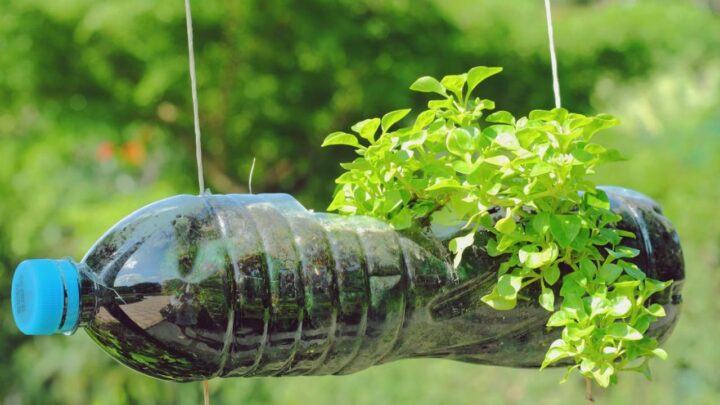
U.S. Gardeners Viral Trick – Grow Chives in Plastic Bottles – an eco-friendly and space-saving gardening trick taking U.S. homes by storm. This simple DIY method helps you enjoy fresh herbs year-round while reusing waste materials sustainably.

Why Grow Chives in Plastic Bottles?
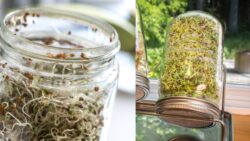
Growing chives in plastic bottles is perfect for urban gardeners and beginners. It saves space, reduces waste, and provides fresh herbs right from your window sill. Plastic bottles make excellent mini-greenhouses that retain warmth and moisture, allowing chives to grow faster even in cooler climates. Moreover, it’s a fun and educational project for families and kids.
- Eco-friendly reuse: Gives plastic bottles a new purpose.
- Budget-friendly: No expensive pots or tools required.
- Perfect for small spaces: Great for balconies or kitchen windows.
- Fresh supply: Enjoy homegrown chives anytime.
What You’ll Need to Start
Before starting, collect all materials. You don’t need fancy gardening supplies — just basic items easily found at home. This makes chive planting simple and accessible for anyone across the U.S.
- Two-liter plastic bottles (cut in half)
- Potting soil or compost mix
- Chive seeds or seedlings
- Water spray bottle
- Small knife or scissors for drainage holes
Make sure your bottles are clean and dry before planting. The transparent plastic helps you see the root growth and soil moisture levels easily.
Step-by-Step Guide to Grow Chives in Plastic Bottles
- Step 1: Prepare the Bottle
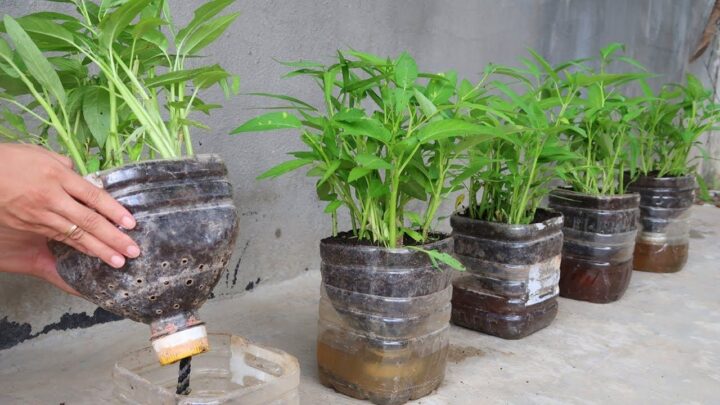
Cut a two-liter bottle in half. Use the bottom portion as the main planter. Poke a few small holes at the bottom for drainage. This ensures your chive roots stay healthy and don’t rot from excess water.
- Step 2: Fill with Soil
Fill the bottle with nutrient-rich potting mix or compost up to ¾ of its height. Avoid compacting the soil — light, airy soil helps chives grow strong and develop healthy roots.
- Step 3: Plant the Seeds
Sprinkle chive seeds evenly over the soil surface. Gently press them in with your fingers and cover lightly with a thin layer of soil. Keep spacing minimal if you’re growing for frequent harvests.
- Step 4: Water Lightly
Use a spray bottle to moisten the soil. Do not overwater. Chives prefer damp, not soggy, soil. Proper moisture encourages steady sprouting in about 7–10 days.
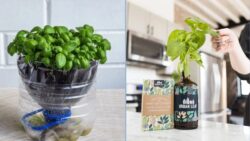
- Step 5: Provide Sunlight
Place your bottle garden near a window with direct sunlight for at least 5–6 hours a day. If sunlight is limited, use a small grow light to support healthy chive leaf growth.
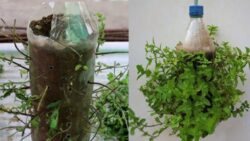
- Step 6: Harvest and Regrow
Once the chives reach 6 inches tall, trim them above the soil line. New shoots will regrow quickly. With regular care, a single bottle can provide fresh chives for months.
Extra Tips for Healthy Chive Growth
- Rotate your bottles weekly for even sunlight exposure.
- Fertilize once every 4–6 weeks using liquid compost.
- Keep the area pest-free by misting with neem oil.
- Use rainwater if possible for softer hydration.
- Harvest often to encourage fresh regrowth.
FAQs
How often should I water chives in bottles?
Water every 2–3 days or when the top soil feels dry. Avoid overwatering as it may cause root rot.
Can chives grow indoors year-round?
Yes, chives thrive indoors all year if provided with sunlight or a small LED grow light.
Do I need fertilizer for chives?
While not essential, a mild organic fertilizer once a month keeps the leaves greener and tastier.
How long do chives take to grow?
Chives typically germinate in 7–10 days and are ready for harvest in 6–8 weeks.
Fresh herbs don’t need a garden — just creativity! Growing chives in plastic bottles not only adds greenery to your space but also supports a sustainable lifestyle. Start today, and you’ll be amazed at how simple and satisfying this eco-friendly gardening trick can be.