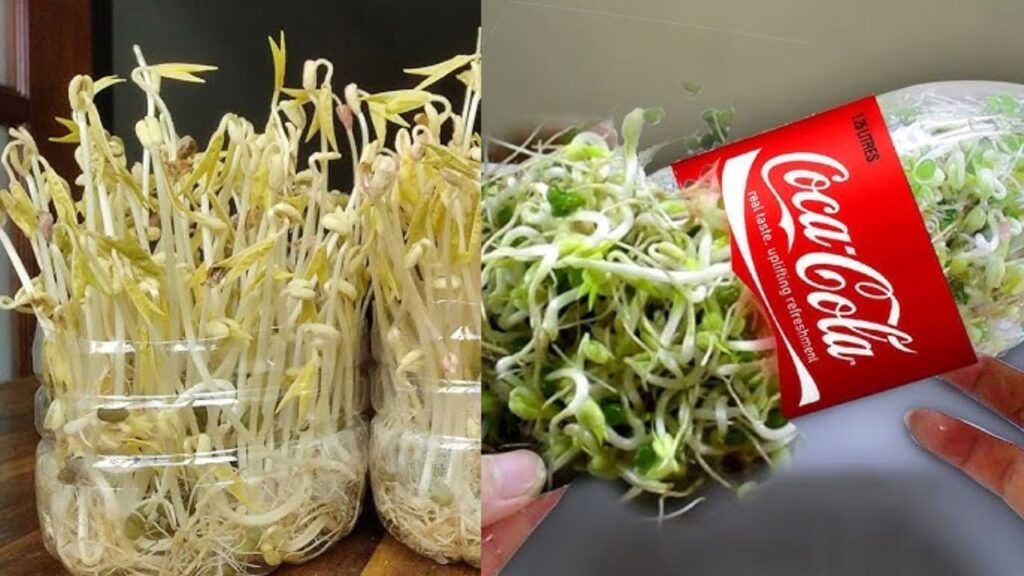
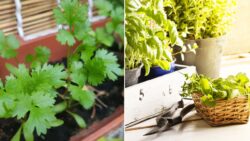
America Favorite Hack – Bean sprouts are a quick, nutritious, and fun indoor gardening project that anyone can try. With just a few plastic bottles, you can grow fresh sprouts right on your kitchen counter. It’s cheap, eco-friendly, and ideal for beginners who want instant results without any soil or garden space.
Why Growing Bean Sprouts at Home Is So Popular in America
Many Americans love the simplicity and speed of growing bean sprouts at home. You don’t need any special equipment—just clean water, beans, and plastic bottles. This small DIY gardening trick saves money and reduces food waste, while giving you access to a constant supply of crunchy, protein-rich greens. Bean sprouts are versatile and can be used in salads, stir-fries, sandwiches, or soups. With the right setup, you’ll see visible growth in just 3–4 days!
Benefits of Using Plastic Bottles for Growing Sprouts
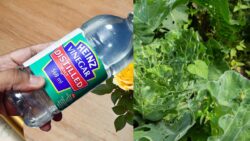
Plastic bottles make the sprouting process super easy and efficient. They provide a controlled environment, ensuring that the beans stay moist but not waterlogged. Reusing bottles also supports eco-friendly living by reducing plastic waste. You can easily hang or place them near a sunny window and watch the magic happen. Plus, bottles allow proper air circulation, which helps sprouts grow healthier and fresher compared to sealed containers.
Step-by-Step Guide to Grow Bean Sprouts at Home
- Step 1: Prepare the Bottle
Cut the top part of a clean plastic bottle to create a wide opening. Make small holes at the bottom for drainage. This allows excess water to escape and prevents mold. Wash the bottle thoroughly before use to ensure it’s free from any chemicals or residues.
- Step 2: Soak the Beans
Choose mung beans or soybeans for the best results. Soak them in clean water overnight (8–12 hours). This softens the beans and triggers the sprouting process. The beans will swell in size, which means they’re ready for the next step.
- Step 3: Add Beans to the Bottle
Place the soaked beans inside the bottle—about ¼ full. Do not overcrowd them. Cover the bottle top with a breathable cloth or mesh and secure it with a rubber band. This allows air to flow while keeping insects and dust out.
- Step 4: Rinse and Drain Regularly
Rinse the beans 2–3 times daily with fresh water. Each time, shake gently and drain excess water through the holes. Keeping the beans moist (not soaked) helps them grow crisp and clean without developing odors.
- Step 5: Observe the Growth
Within 2–3 days, you’ll see small white sprouts forming. Keep them away from direct sunlight until they reach your desired length (usually 3–5 days). Once grown, give them a final rinse before consuming.
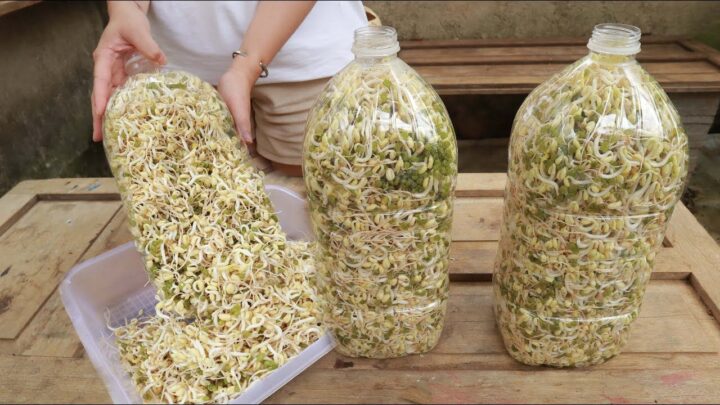
- Step 6: Harvest and Store
When the sprouts reach about 2 inches long, they’re ready to eat. Store them in an airtight container in the fridge. They’ll stay fresh for up to 3–4 days and can be added to a variety of meals.
Extra Tips for Successful Bean Sprouting
- Use filtered water to avoid chlorine, which can slow sprouting.
- Keep the bottle in a dark or shaded area for longer, thicker sprouts.
- Do not let the beans sit in stagnant water for too long.
- Rinse regularly to prevent bacterial growth or mold.
- Try different beans like lentils or chickpeas for variety.

FAQs
How long does it take to grow bean sprouts?
Usually, bean sprouts are ready in 3–5 days, depending on the temperature and humidity in your home.
Do I need sunlight to grow bean sprouts?
No, bean sprouts grow best in a shaded area with indirect light. Too much sunlight can make them dry and bitter.
Can I reuse the same plastic bottle?
Yes, you can reuse it multiple times. Just wash it thoroughly after each use to avoid contamination.
Which beans are best for sprouting?
Mung beans are the most popular choice, but soybeans, lentils, and alfalfa seeds also sprout beautifully.
Growing bean sprouts in plastic bottles is a fun and rewarding way to bring fresh food to your table. It’s a simple habit that promotes sustainability and healthy eating. So grab a bottle, soak some beans, and watch your mini green garden come alive right in your kitchen!