Pumpkin Carving Ideas 2025 : Looking for the easiest and coolest Halloween pumpkin carving ideas this year? These fun and creative designs will turn your pumpkins into spooky showstoppers!
Creative Pumpkin Carving Designs for Halloween 2025
Pumpkin carving is a must-do tradition for Halloween, and 2025 brings even more exciting and fun designs. Whether you’re a beginner or a seasoned pumpkin artist, there’s something magical about lighting up a carved pumpkin on your doorstep. With the right tools and a little creativity, you can turn a plain pumpkin into a glowing masterpiece in just an afternoon.

This year’s trends are all about simplicity, humor, and unique expressions. You don’t need to be a professional artist. Just follow easy templates or go freestyle with your own idea. From spooky faces to cute animals, the options are endless!

Trending Halloween Pumpkin Carving Ideas for 2025
Here are some of the most popular and beginner-friendly carving ideas for Halloween 2025:
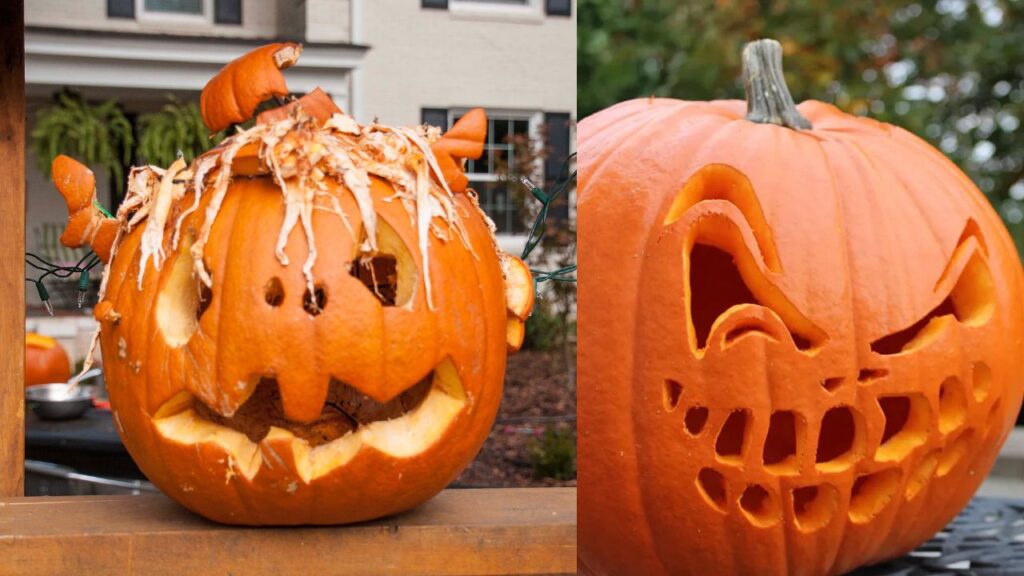
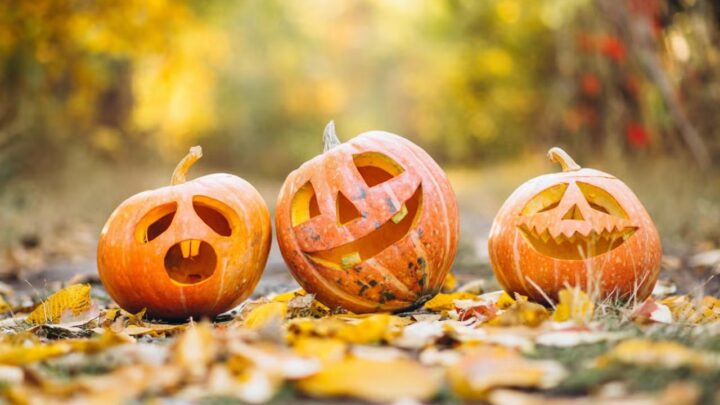
- Classic Jack-O’-Lantern: You can never go wrong with the traditional triangle eyes and jagged smile.
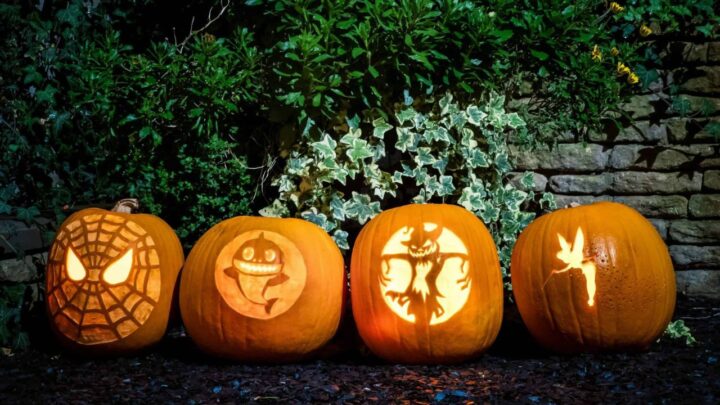
- Witch Silhouette: Carve out a flying witch on a broomstick with a glowing moon behind.
- Cat in the Window: Perfect for cat lovers, this design shows a black cat silhouette on a windowsill.
- Smiling Ghost: A cheerful, non-scary ghost is perfect for young kids and family-friendly homes.
- Spider Web: Intricate but doable with the right stencil and a fine carving tool.
- Emoji Faces: Try your favorite emoji expressions — they’re funny and easy to make!
- Haunted House: For advanced carvers, a spooky house with tiny windows and bats flying above makes a great centerpiece.
Step-by-Step Guide to Carving a Pumpkin for Halloween
- Step 1: Choose the Right Pumpkin
Pick a fresh, firm pumpkin with a flat bottom so it doesn’t roll. A smooth surface will make carving easier, especially for detailed designs.
- Step 2: Cut Off the Top
Use a serrated knife to cut a circular lid around the stem. Angle the knife inward so the lid won’t fall inside. Make the opening wide enough for your hand.
- Step 3: Scoop Out the Insides
Use a spoon or scraper to remove the seeds and stringy pulp. Scrape the walls until they’re about 1-inch thick to make carving smoother.
- Step 4: Trace Your Design
Use a stencil or freehand your design with a washable marker. Simple outlines are easier to follow, especially for beginners.
- Step 5: Carve with Care
Start with small cuts and work your way around the design. Use pumpkin carving tools for precision, especially for curves and details.
- Step 6: Light It Up
Place a tea light candle or battery-powered LED inside the pumpkin. Replace the lid and enjoy the spooky glow on Halloween night!

Extra Tips for Perfect Pumpkin Carving
- Soak your pumpkin in cold water overnight to keep it fresh longer.
- Apply petroleum jelly to the cut edges to prevent drying.
- Use cookie cutters and a rubber mallet for cool, shaped cutouts.
- Try painting or adding props if you don’t want to carve.
- Use a flashlight to check your design before finalizing cuts.
FAQs
How long do carved pumpkins last?
Carved pumpkins typically last 3 to 5 days. Keeping them cool and away from direct sunlight helps them stay fresh longer.
What tools do I need to carve pumpkins?
A carving knife, scoop, fine saw, and stencils are great tools. Many stores also sell affordable pumpkin carving kits.
Is it safe for kids to carve pumpkins?
Kids can help clean and decorate pumpkins, but carving should be done by adults or supervised closely using safe tools.
Can I eat the seeds after carving?
Yes! Clean, season, and roast the seeds in the oven for a delicious and healthy snack.

Pumpkin carving is more than just a Halloween activity — it’s a fun way to express creativity, spend time with family, and celebrate the season. Whether you keep it simple or go all out, your glowing creation will bring smiles to everyone who sees it. So grab a pumpkin and start carving your spooky masterpiece today!